For the past few days AJ and I have been working to modify a homebrewed wood stove/firepit into a more homebrewed foundry. Our goal is to begin processing aluminum cans and scrap into ingots for casting future projects.
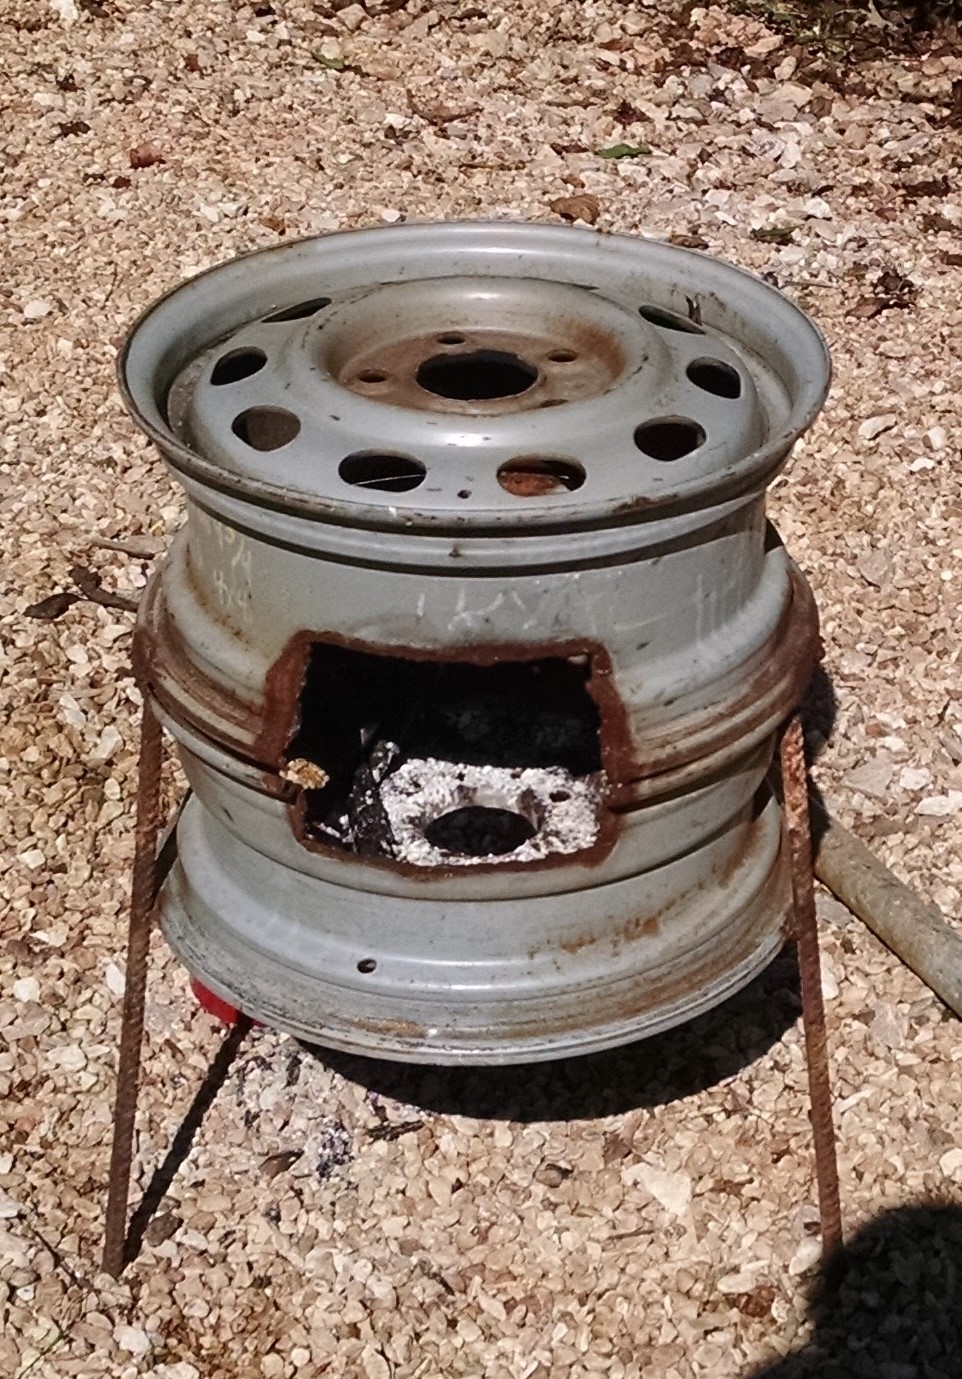
Our humble stove.
We begin our metallurgical journey with a stove that started life on the road. Literally. A gift from my father, it is made from two old steel wheels and a few pieces of rebar. Our stove might not have much in the looks department, but it has the strength where it counts.
AJ took up the mantle for this project. Her Sir Weld project whetted her whistle for metal working, and this project has a number of great things to learn and practice. We needed some metal cutting, grinding, pipe mitering and welding, so she jumped in for all of it. I kind of felt like the project engineer: saying the obvious and stepping back to watch it happen.
Crucible
AJ started off with making the crucible. Utilizing an old, out of service 5 pound fire extinguisher, we lopped off a few inches from the top and cleaned up the cuts. Since the idea involved hanging the crucible in the center of the stove, we cleaned off a few spots (three) to later weld on supports.
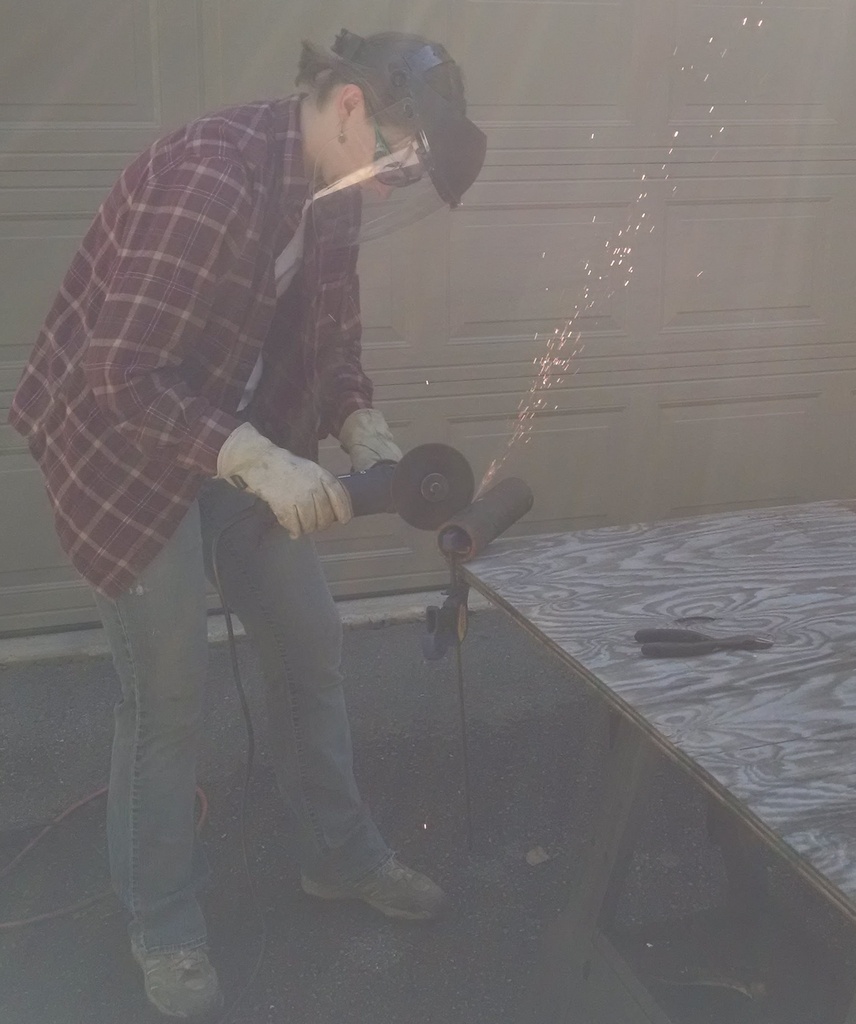
AJ makes the sparks fly. Cutting on the air induction pipe.
Air Induction Pipe
The basic idea of this simple foundry is to build a fire in the stove, then cram as much air into it as possible, via leafblower and pipes. We found a piece of heavy gauge steel pipe in the shop and with a little angle grinder work, it became two pieces cut at a 45° angle. Flip one of them around 90° and voila! A 90° elbow is born. This was a much heavier piece of steel than the fire extinguisher, but with perseverance and supplemental cut-off blades, it too was clove in twain. After a good debur job and bevel, it was ready for weld up.
Fuel Door
The last thing we were looking for was a door to close the fuel opening in the stove. We had a piece of ~16 gauge steel hanging around the shop that was volentold to live its life as a door. The basic idea was to have a stationary pokey bit on one side and a sliding pokey bit on the other, both to act as attachment points. So, with a little digging in our scrap bins and bolt buckets, we came across this idea: weld a nut to one side that a piece of all-thread will (wait for it) thread into. On the other side, we welded the same size nut (we’re nuts about nuts) but ran a bolt through it that was much smaller. A nut (more nuts) to keep it captive and we had a door! Set the stationary pin in the stove, swing the door into position and throw the (literal) bolt to secure it. Easy, on hand, and able to cope with extreme temperature changes. Scrounging for the win!
With the door engineering complete, AJ entered the cut, check size, cut, check size, cut again cycle. Due to the curve of the stove it wasn’t readily apparent what the best combination of curve and length would be, so a few tweaks here and there brought it into “close enough” range. Thanks to the hot nature of the project, AJ didn’t have to complete the old sheet-metal mantra of “beat to fit, paint to match.”
Stove Modification
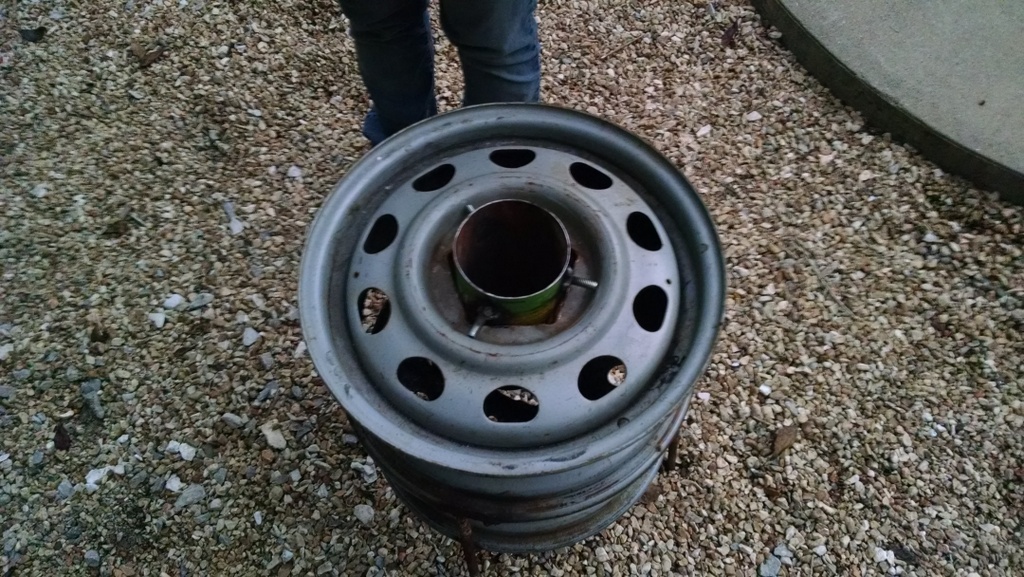
There was one more thing to cut to pieces before AJ got to work on her welding: the stove needed modified to accept our crucible! Our plan was to weld some supporting bolts to the side of the crucible, so a simple hole was all we required. With judicial use of calibrated eyeballs, we determined that a straight cut, center to center of each lug hole, would be more than adequate for our crucible. So, once again AJ picks up the angle grinder and wields a cutting disk against her foes.
A quick fit test with the crucible and we were good to go!

Stove modification
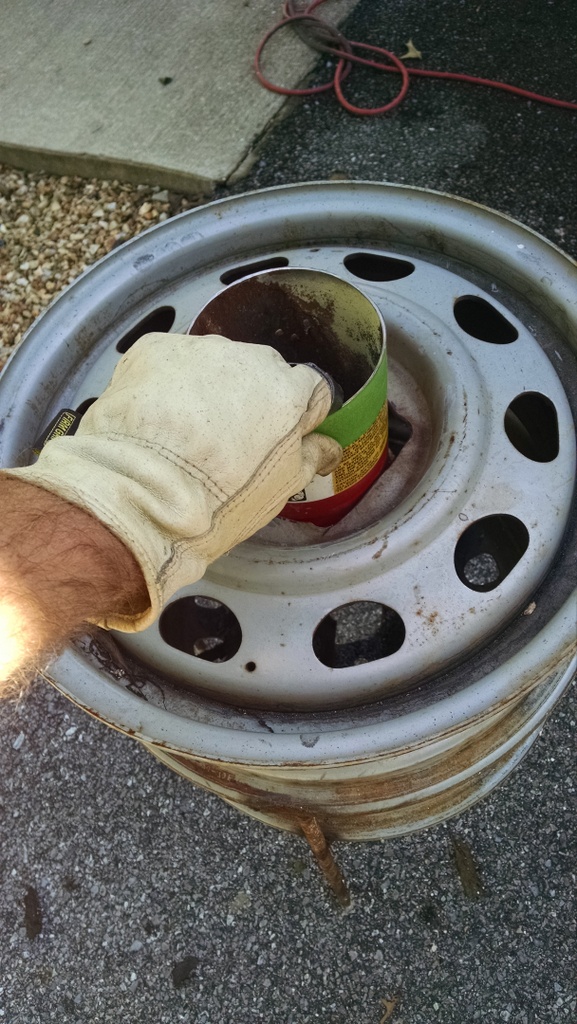
Crucible fit test
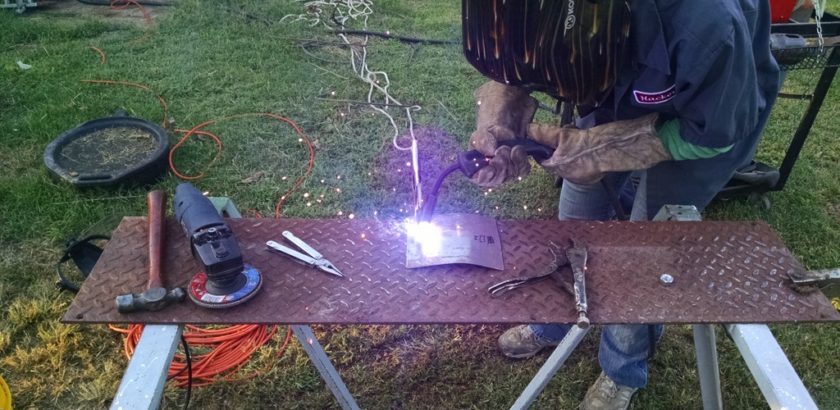
Weld Up
With all the cutting, grinding, deburring and sanding complete, it was time to mosey into town. We had a hankering for a MIG welder, and I knew just the spot to get what we needed. Thanks to a family friend, Levi, long-term lending his welder to the family, we had an outdoor workspace and the tools to accomplish our task.
Starting with the crucible, AJ hit it hard to get everything welded up. This was her 2nd time welding and she did a bang-up job. The pictures give her work better justice than my words, so I’ll let them speak.
Finished Up
It works!
A quick fit-check with the crucible support bolts told us our idea was sound. The next thing to do was to get it fired up and write about it, which we did both on later days.
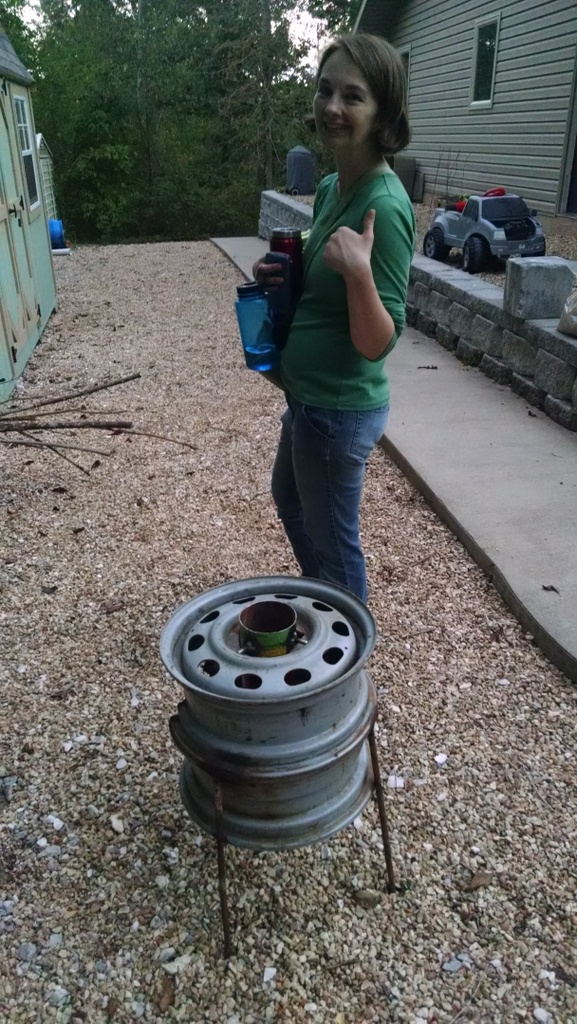
A moment of pride after a hard afternoon’s work.